¶ Creating a Project
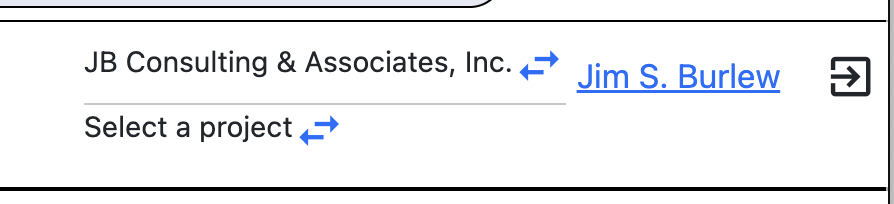
Login and go to the Projects page. If you are somewhere in the system, just click the arrows to the right of “Select a Project” in the top right corner by your profile name.
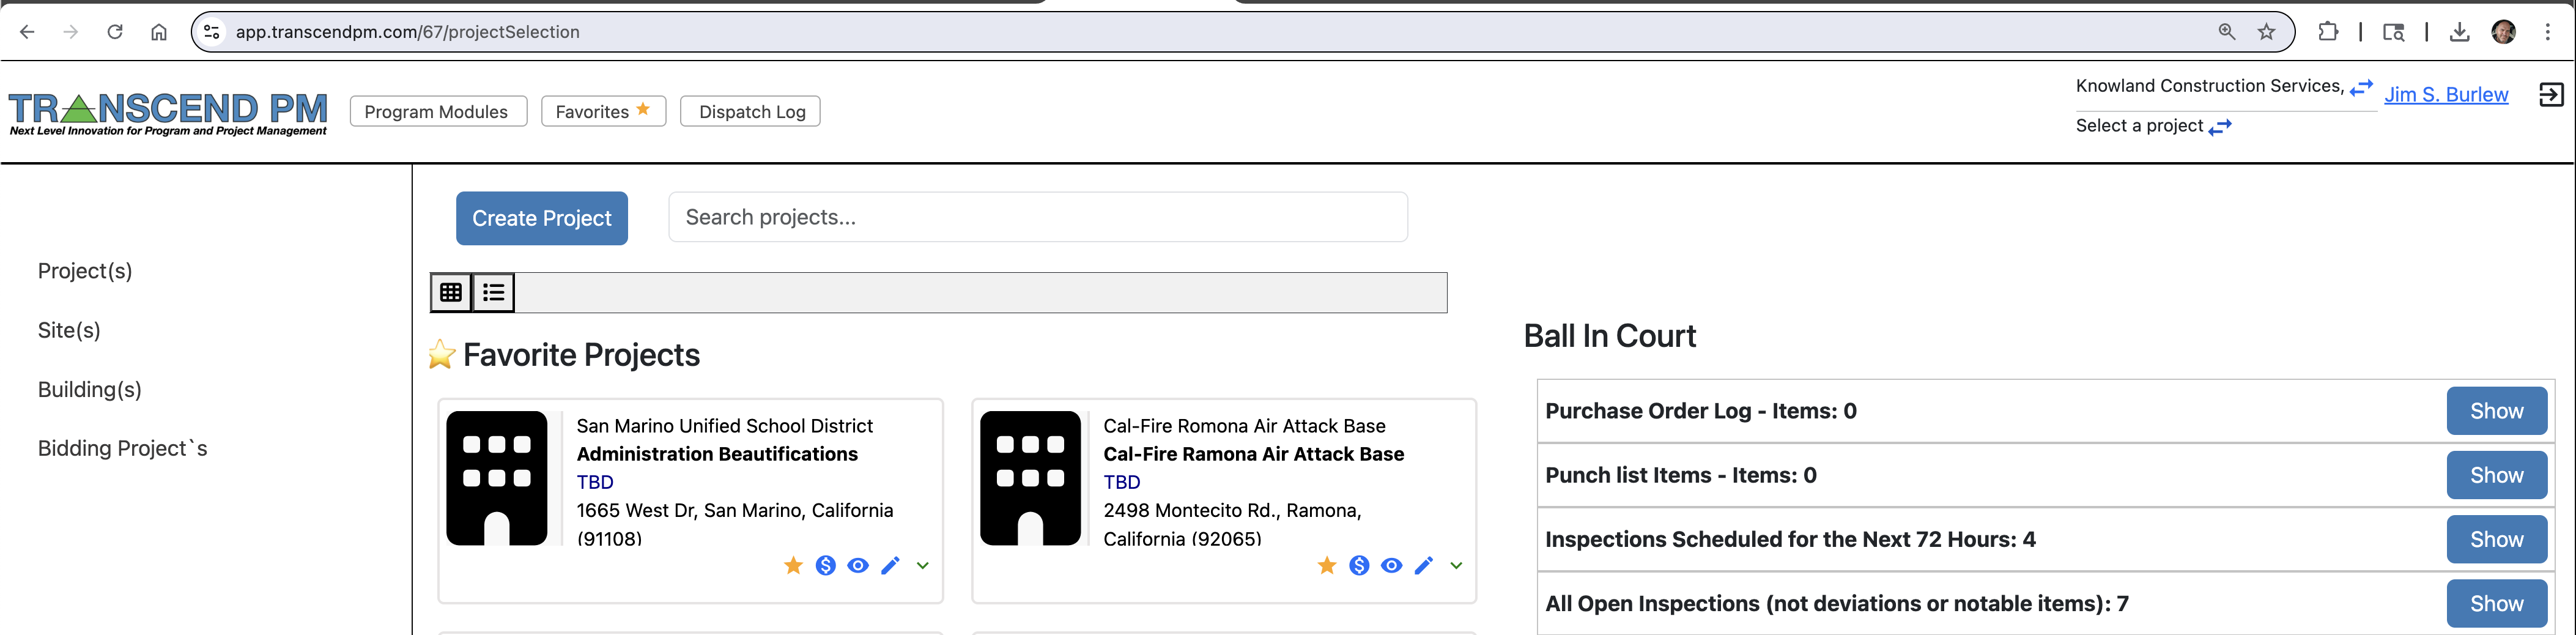
When you go to the project page there is a button at the top labeled Create Project. You can either click Project(s) and on this page you will see the same button to create a project.
After you click “Create Project” a popup window to add a project will appear.
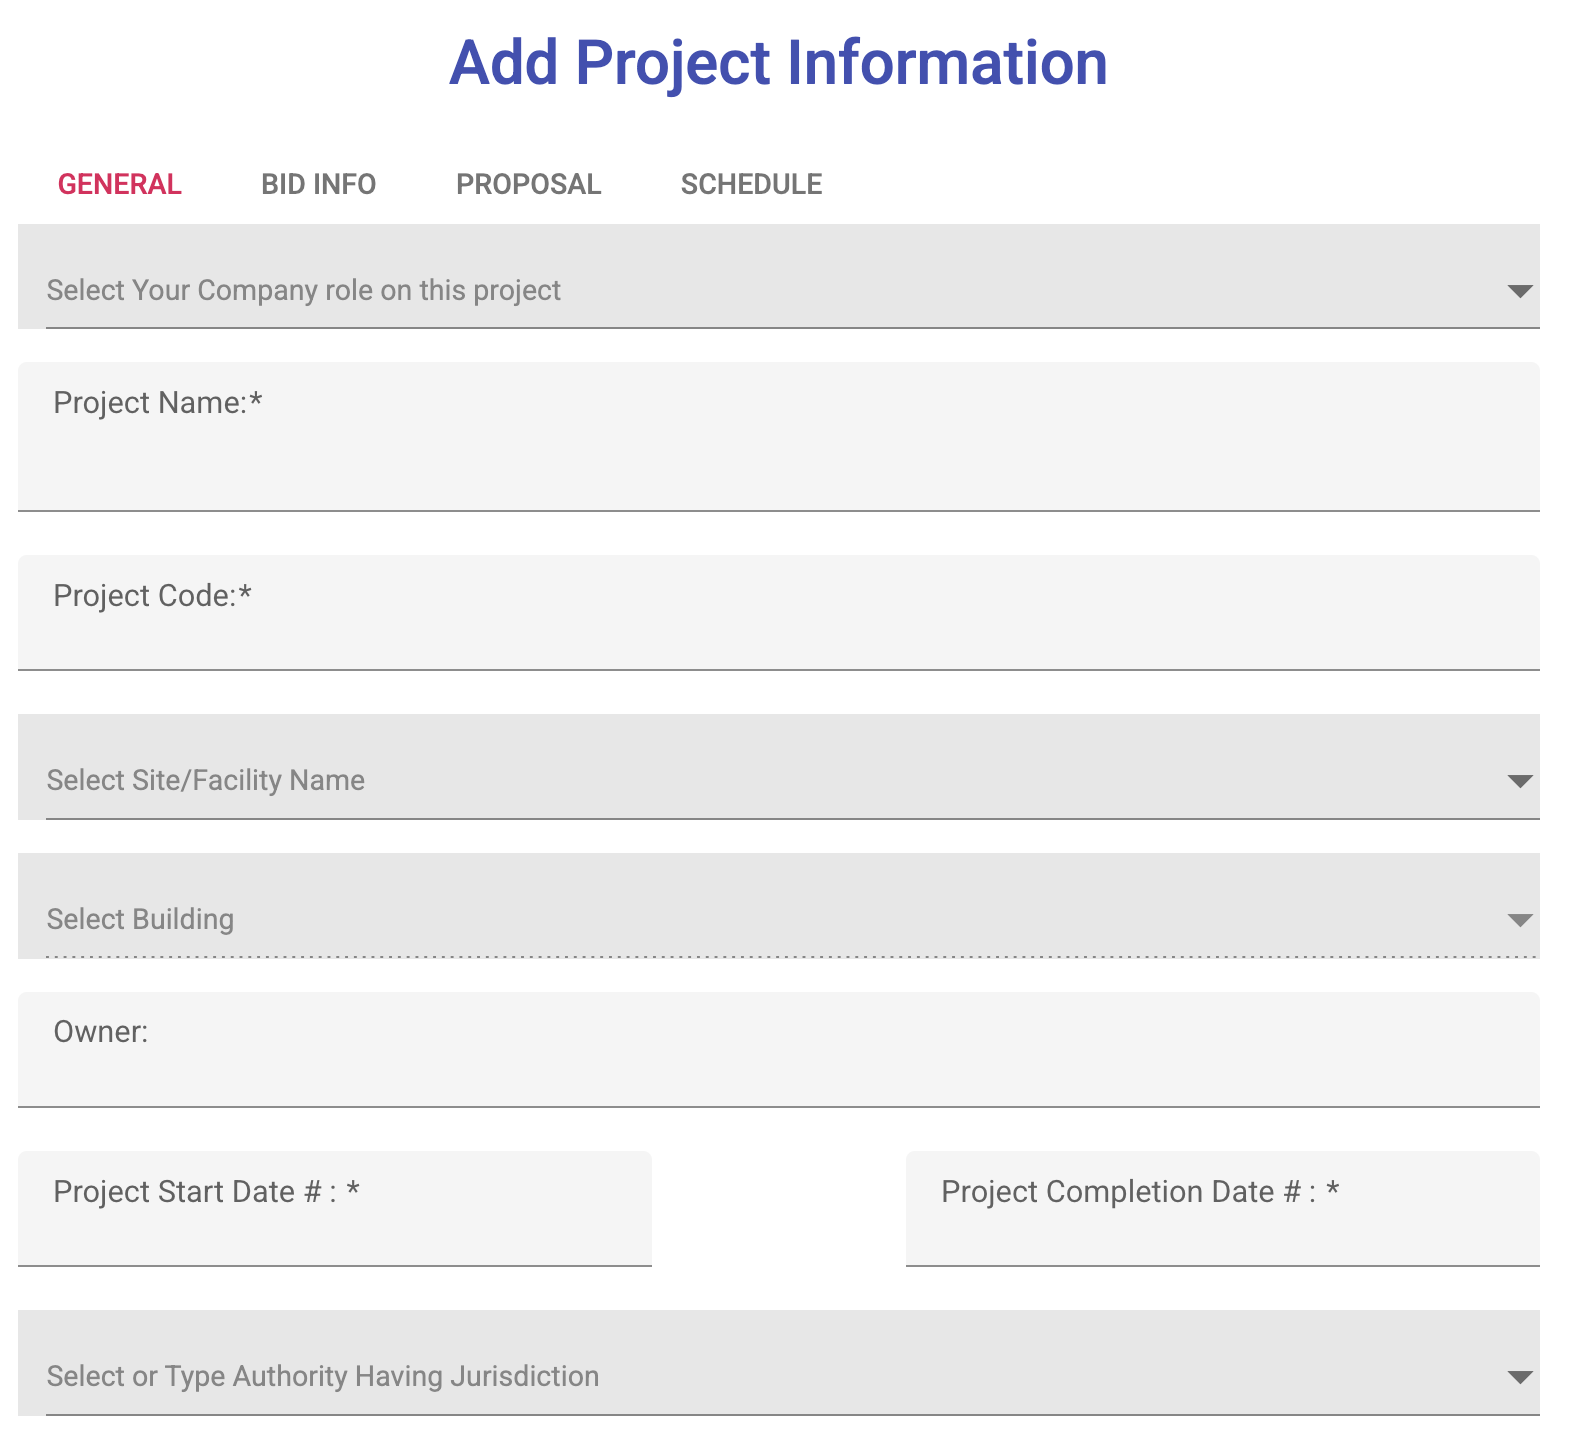
At the top of the window you will see a tab for General information, Bidding Information, Proposal Information and a Schedule for a rough schedule. All of this information is used throughout Transcend PM. Project Code can be an internal project code or any code you make for the project.
Once you do this, you can see your project on the Project(s) page.
¶ Adding Incremental or Sub-Projects to a Master Project
This feature is when you have a large program with many permit numbers under it. In HCAI/OSHPD we use this very often. In DSA construction, we use a lot of this for solar programs.
You can use the search menu on the top right to search for your projects. Once you find the project you have an arrow on the far left of the project, click this and it expands the accordion table showing you all sub-projects. Under the action column there is a + button, this allows you to add in subprojects.
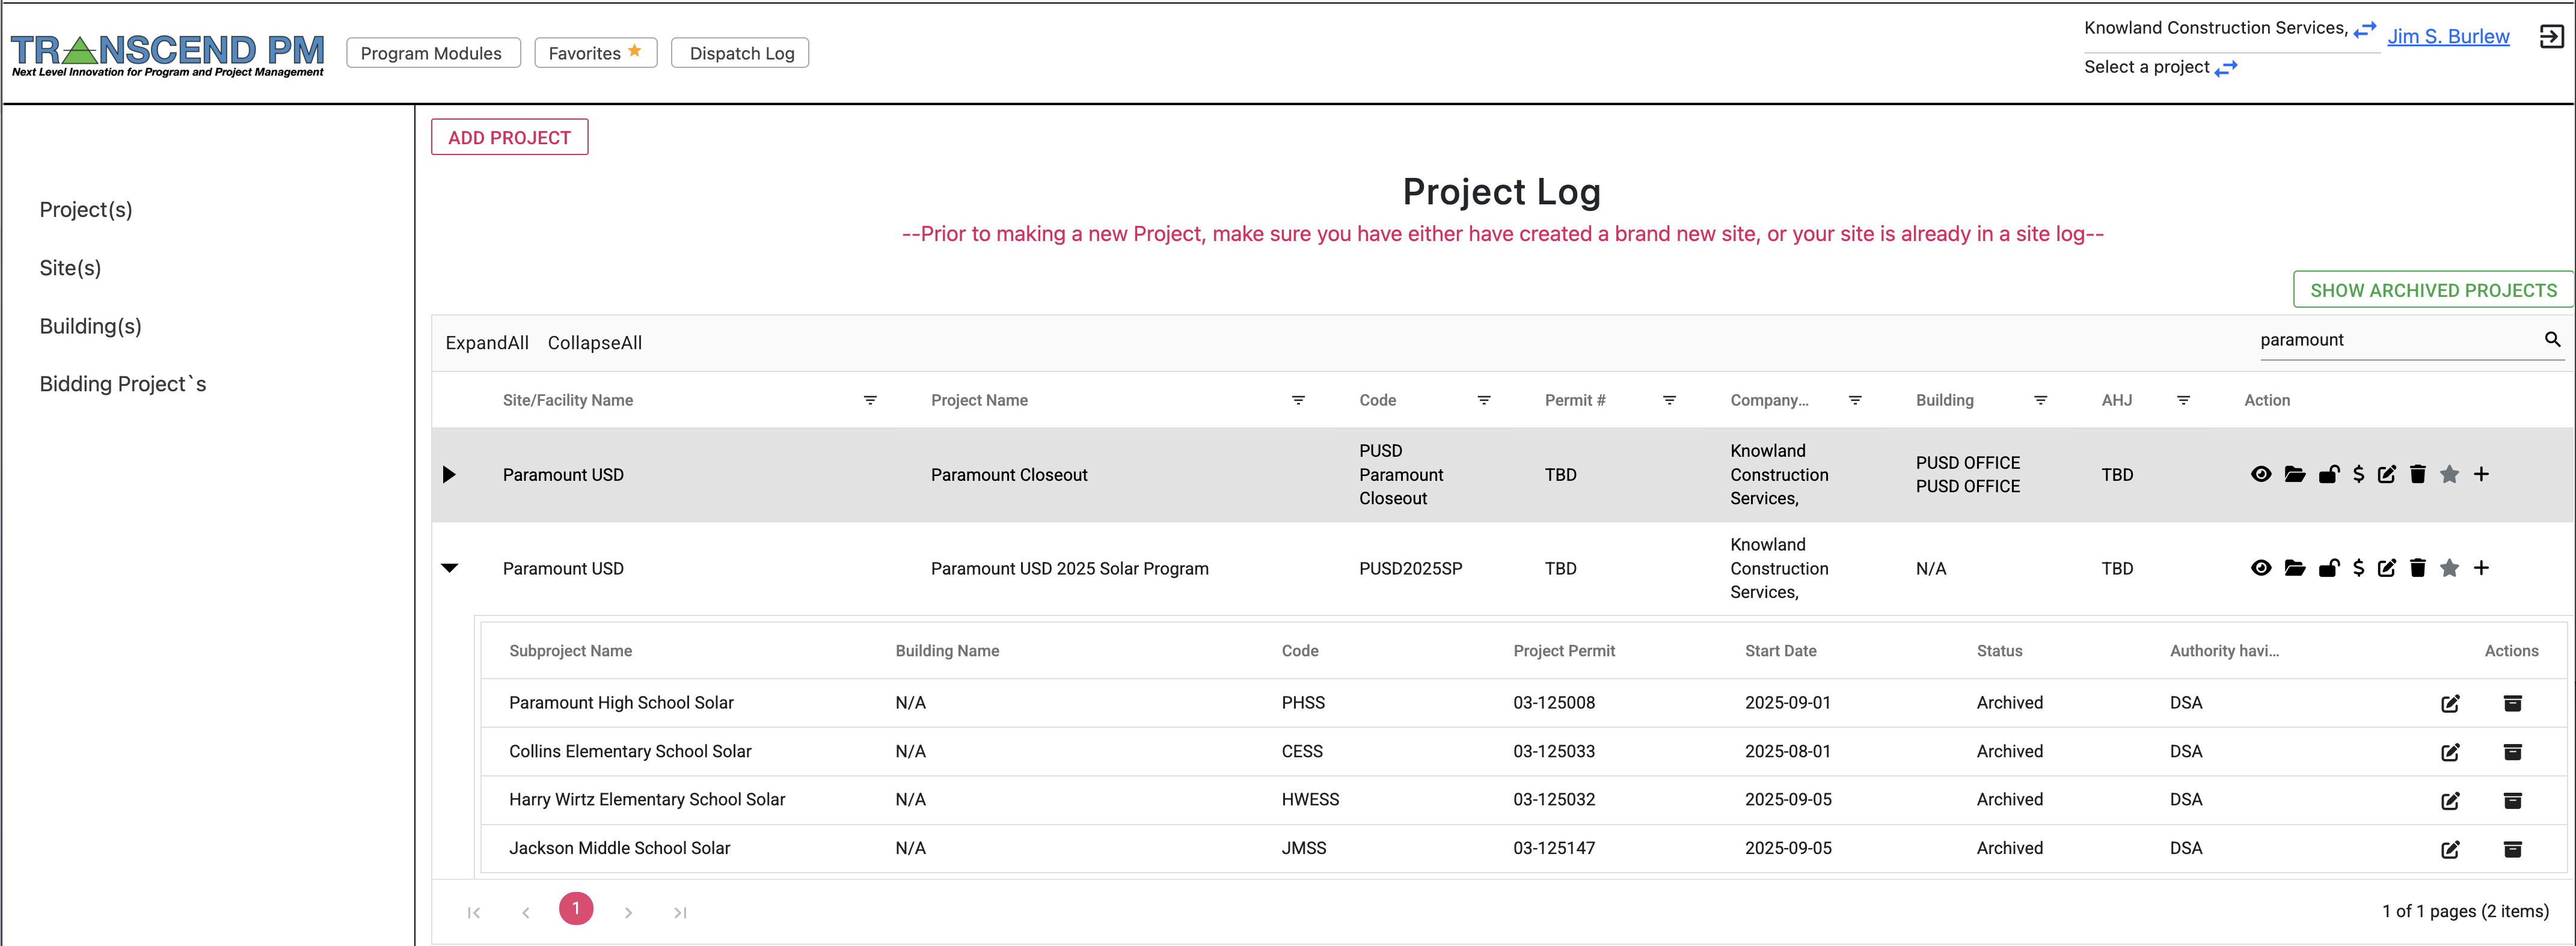
When you click it, a popup window shows up to add a new Sub Project similar to when you make a new project. When you do this, all of the new sub-projects populate under the parent/master project. Now everything you do in the program, will be tied to the proper permits.
¶ Adding a User to Your Company
You can add users to your company with several titles. You can add a basic employee, a company admin and subconsultants who represent your company, similar to how many materials testing/special inspection and DSA PI/HCAI IOR companies work.
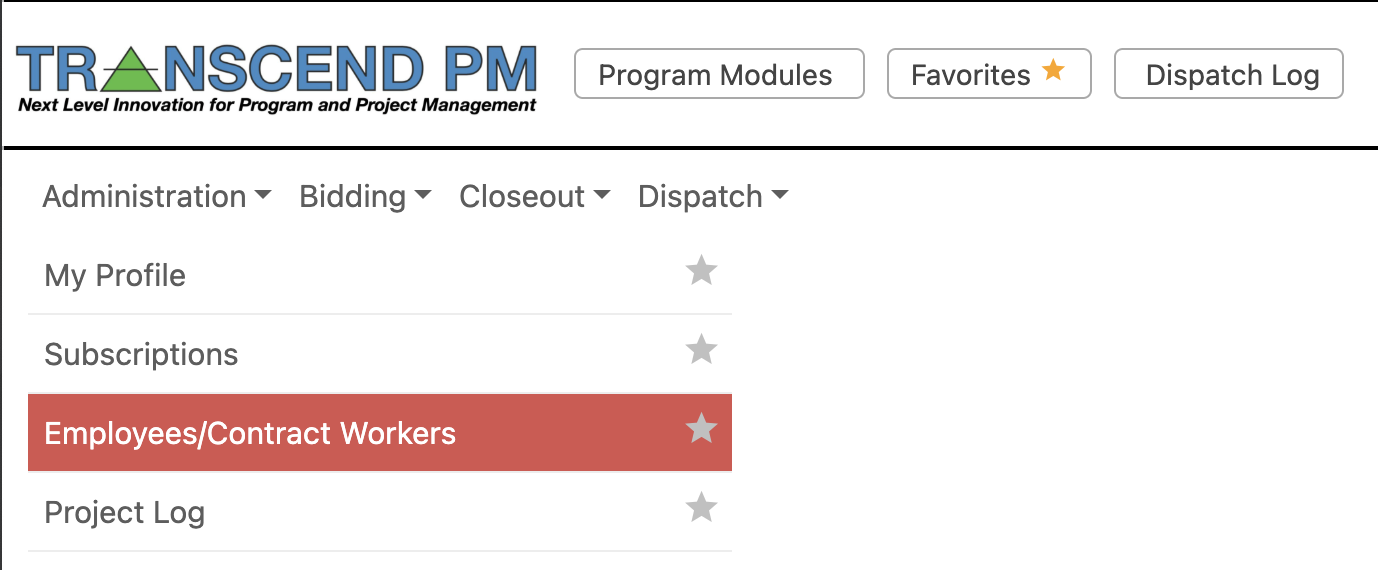
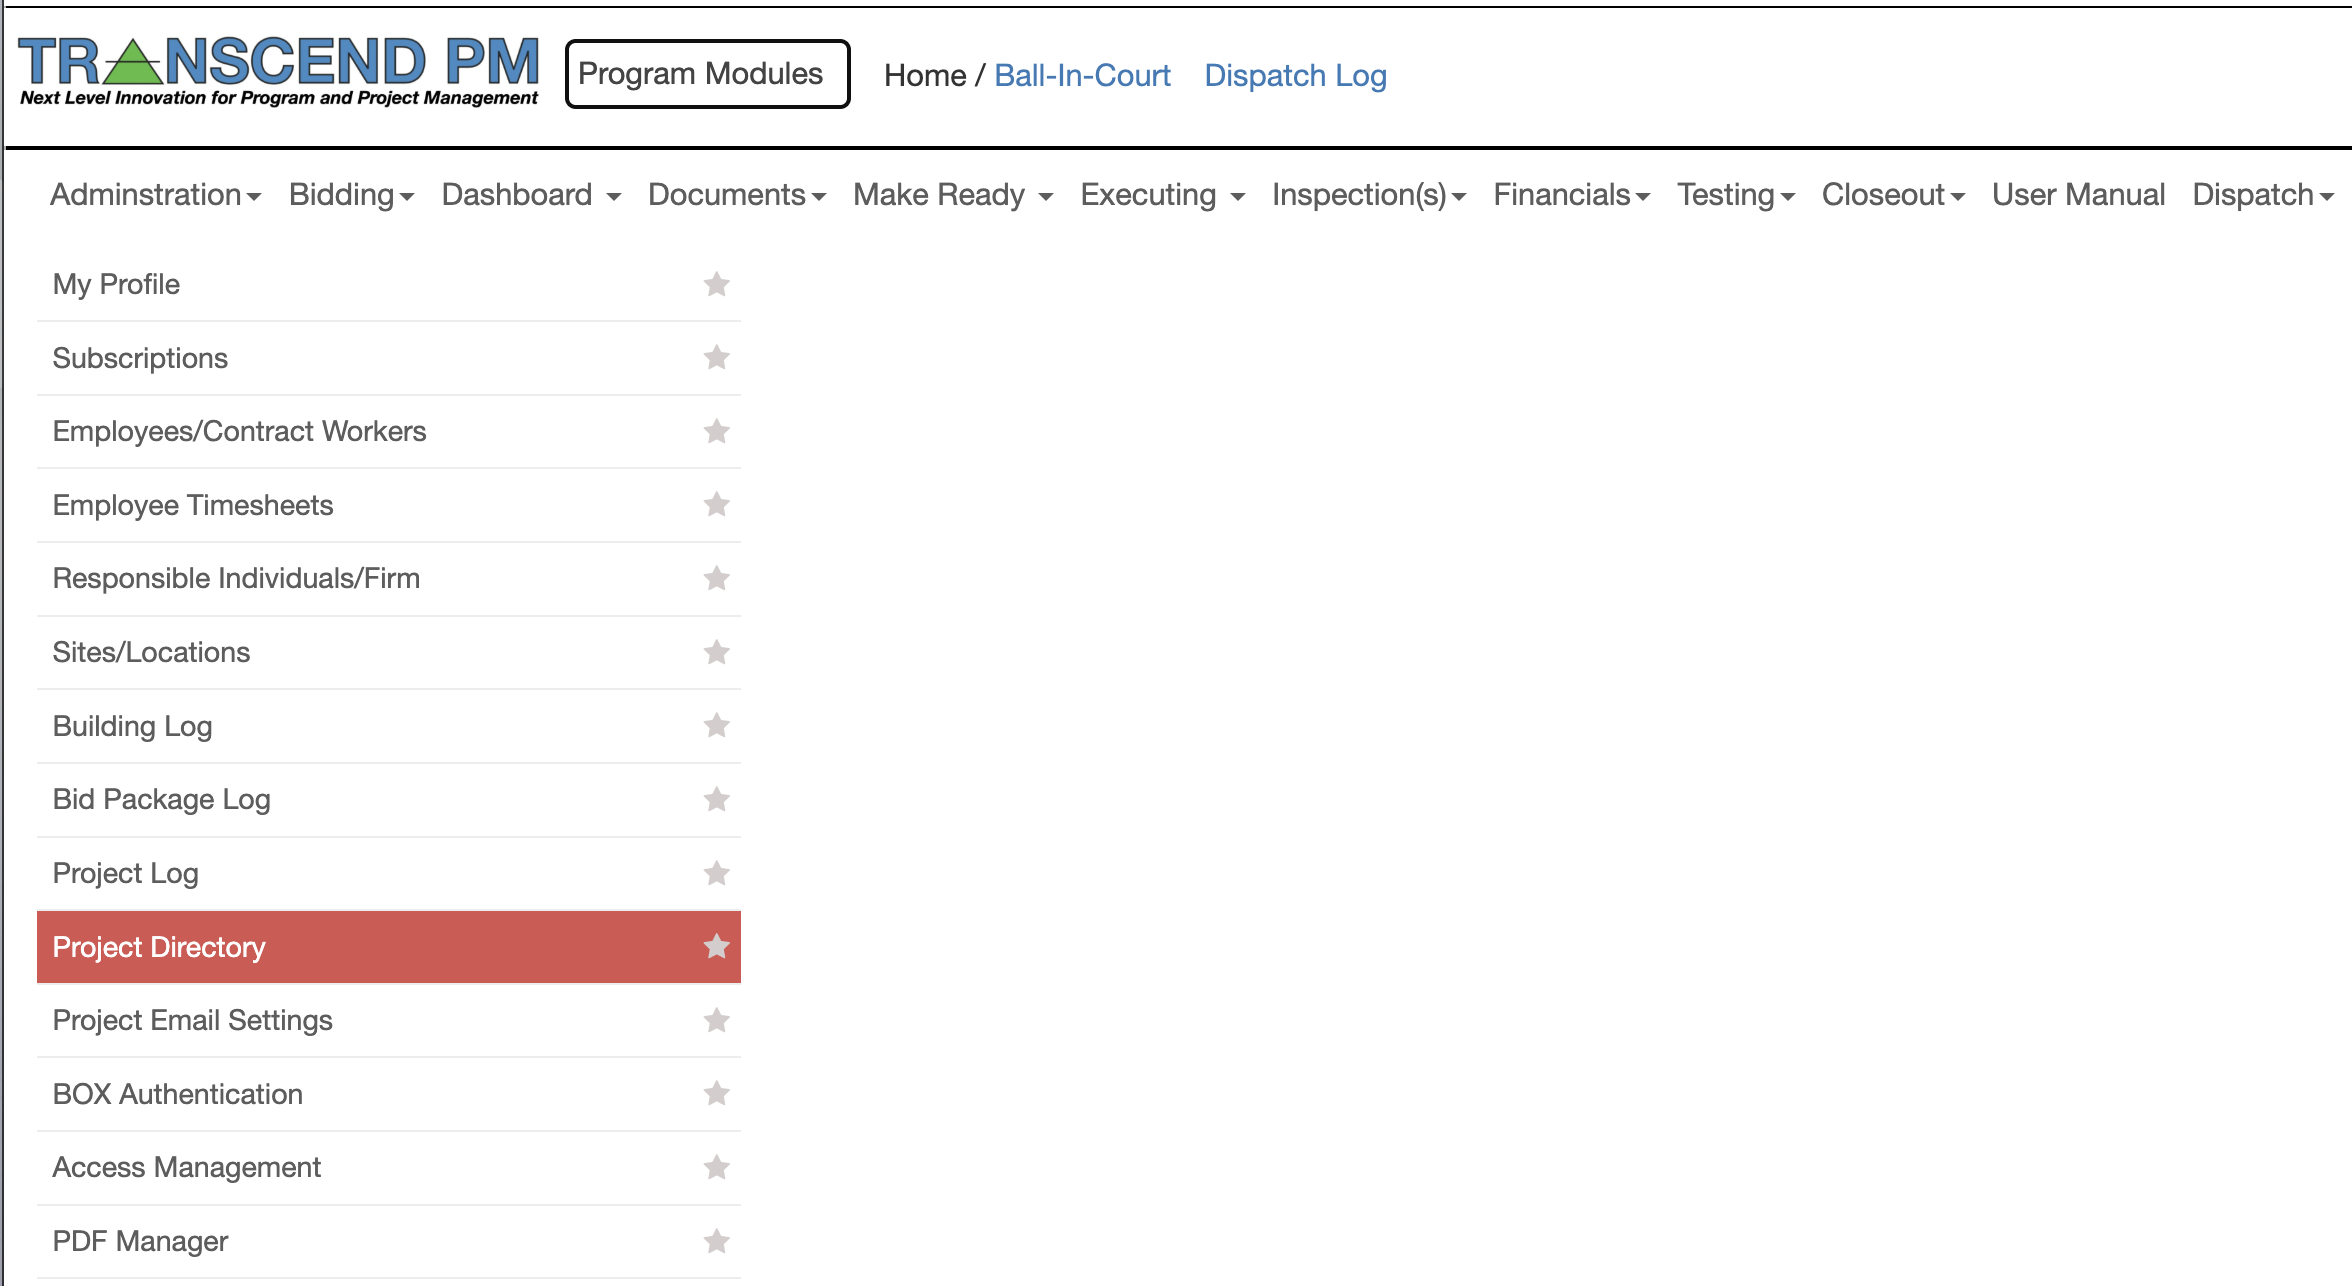
Everything is accessible from the Program Modules menu. When you go here, select the Administration menu and under it you will see Employees/Contract Workers.
Once you click this the main page will show up. On this page you will see an Add Employee button at the top, this is to add in new employees or subcontract workers.
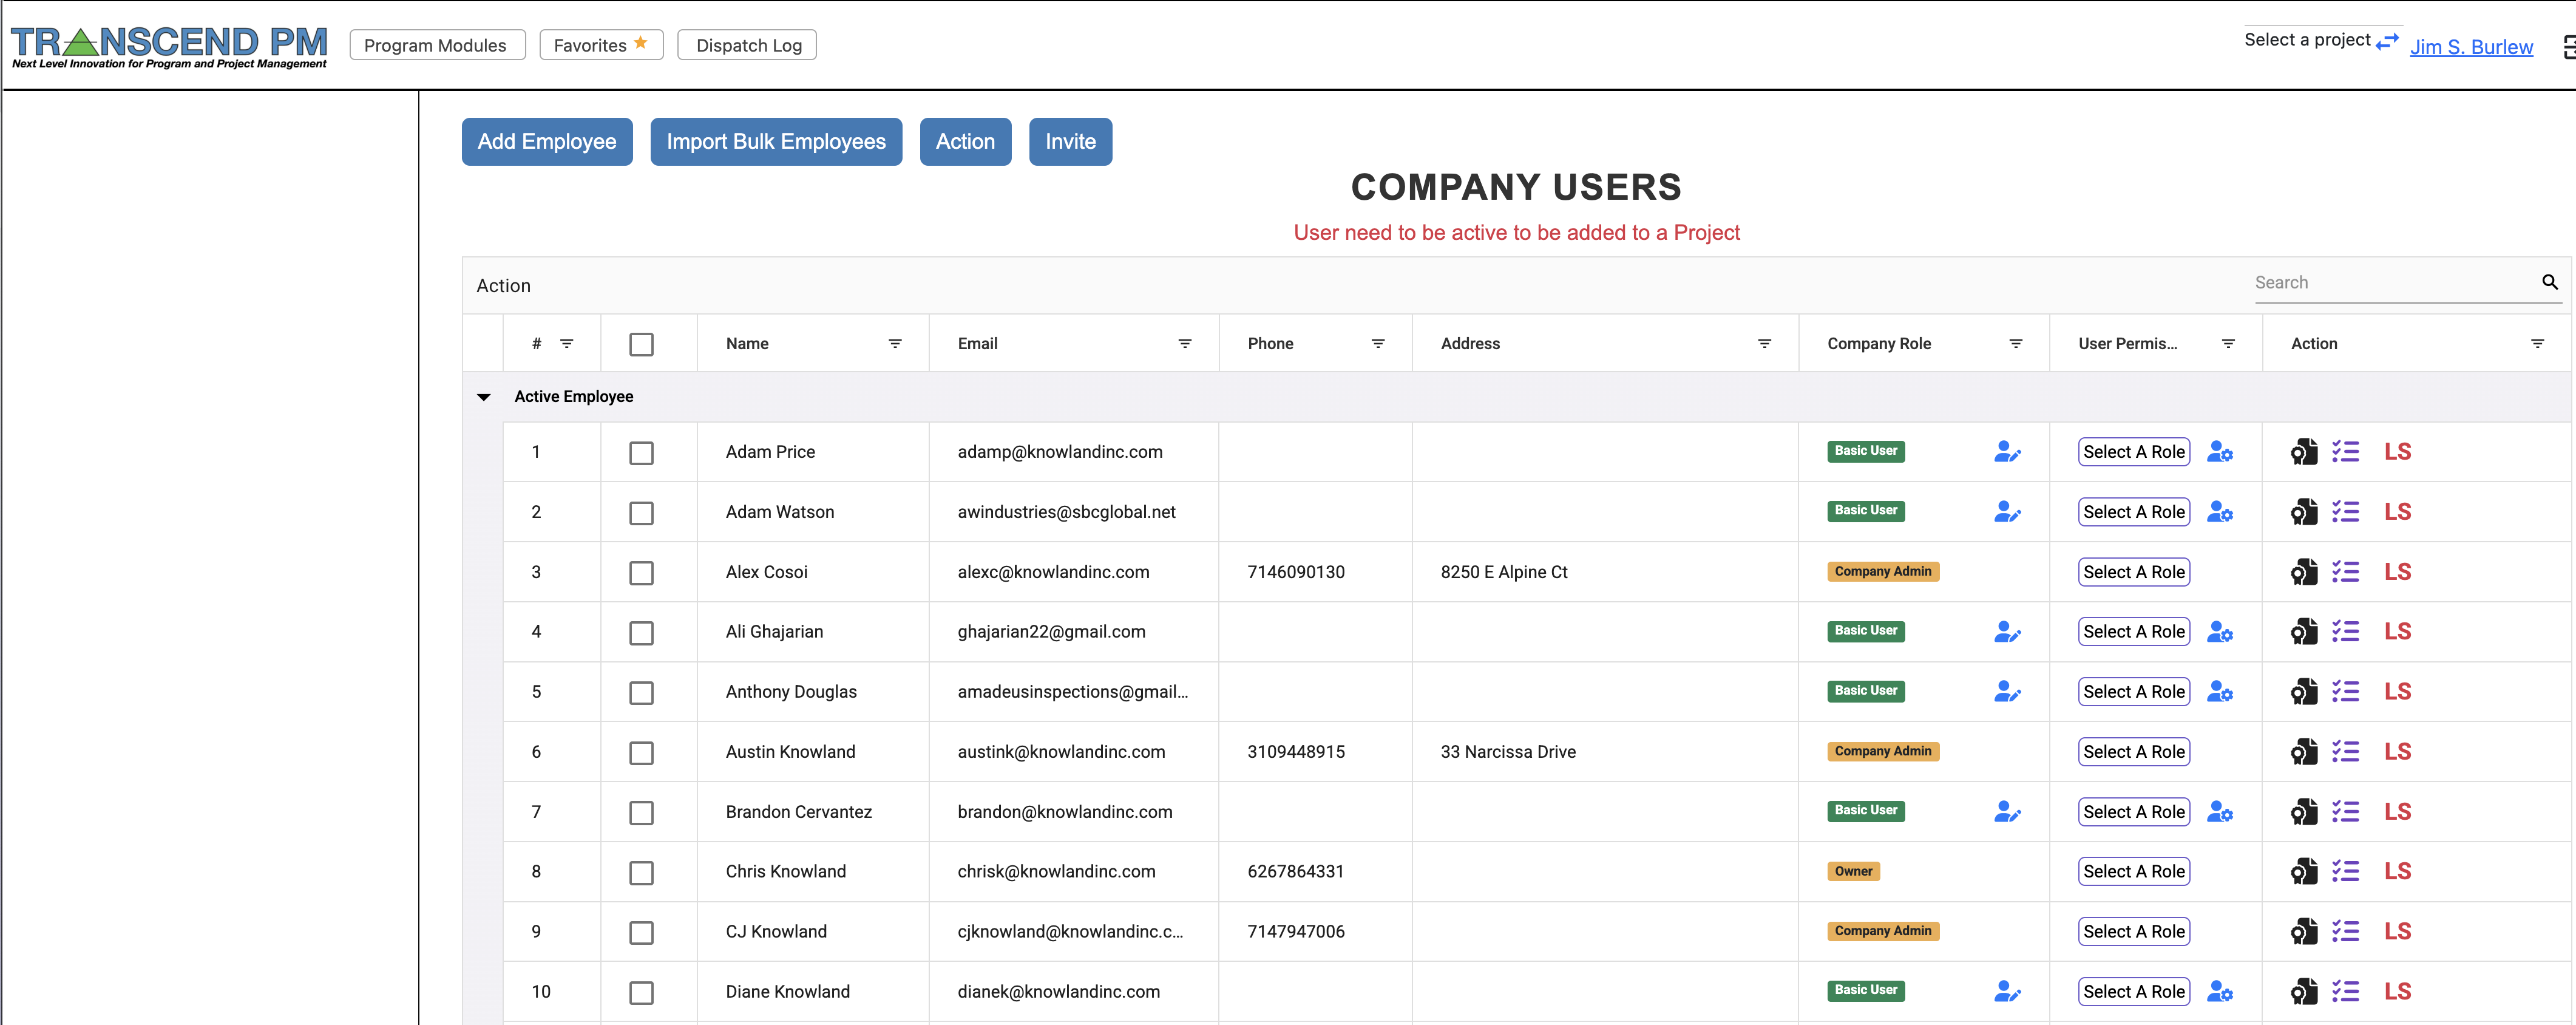
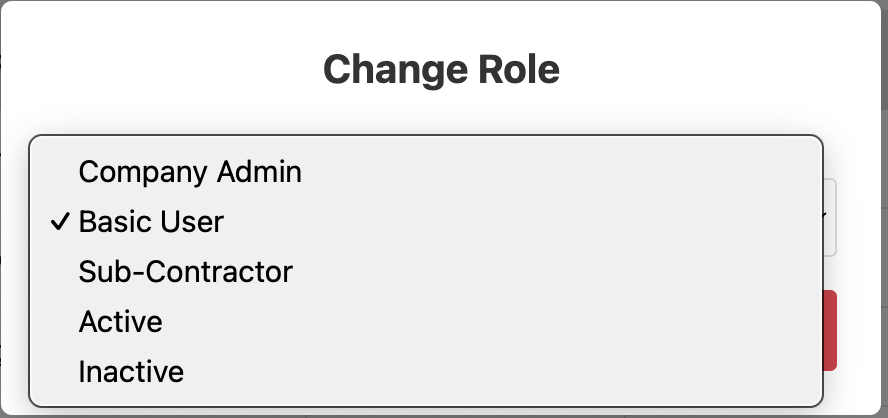
The column Company Role, is the column to add in if someone is a company admin or basic user, subcontractor, inactivate them, etc.
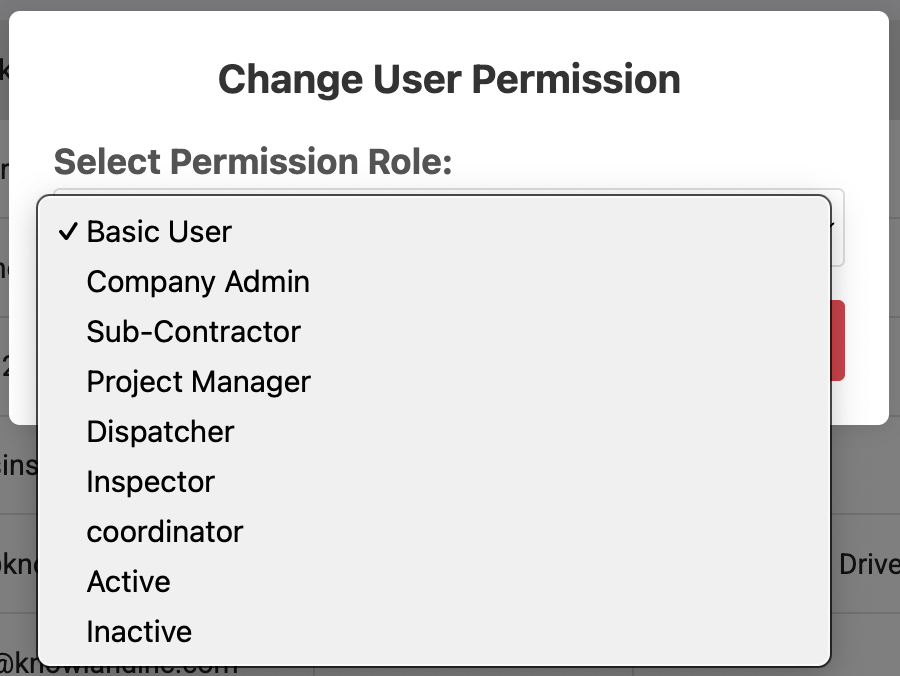
The User Permissions column is to identify what the users do and what they can see.
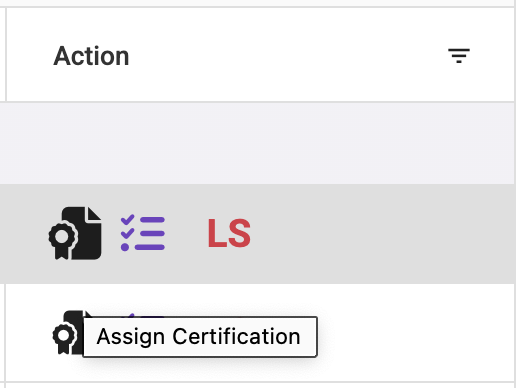
The action column lists a few things that can be done from this page. Similar to other functions, these can be performed on many other pages in the system.
- You can enter individuals certifications from this menu.
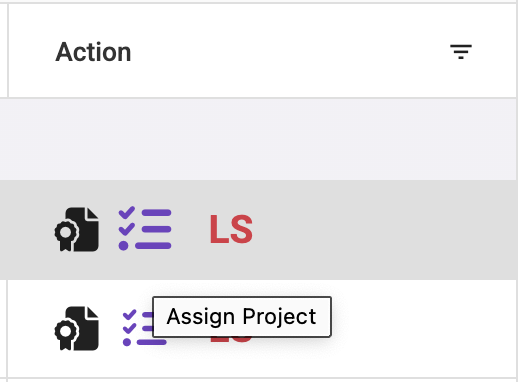
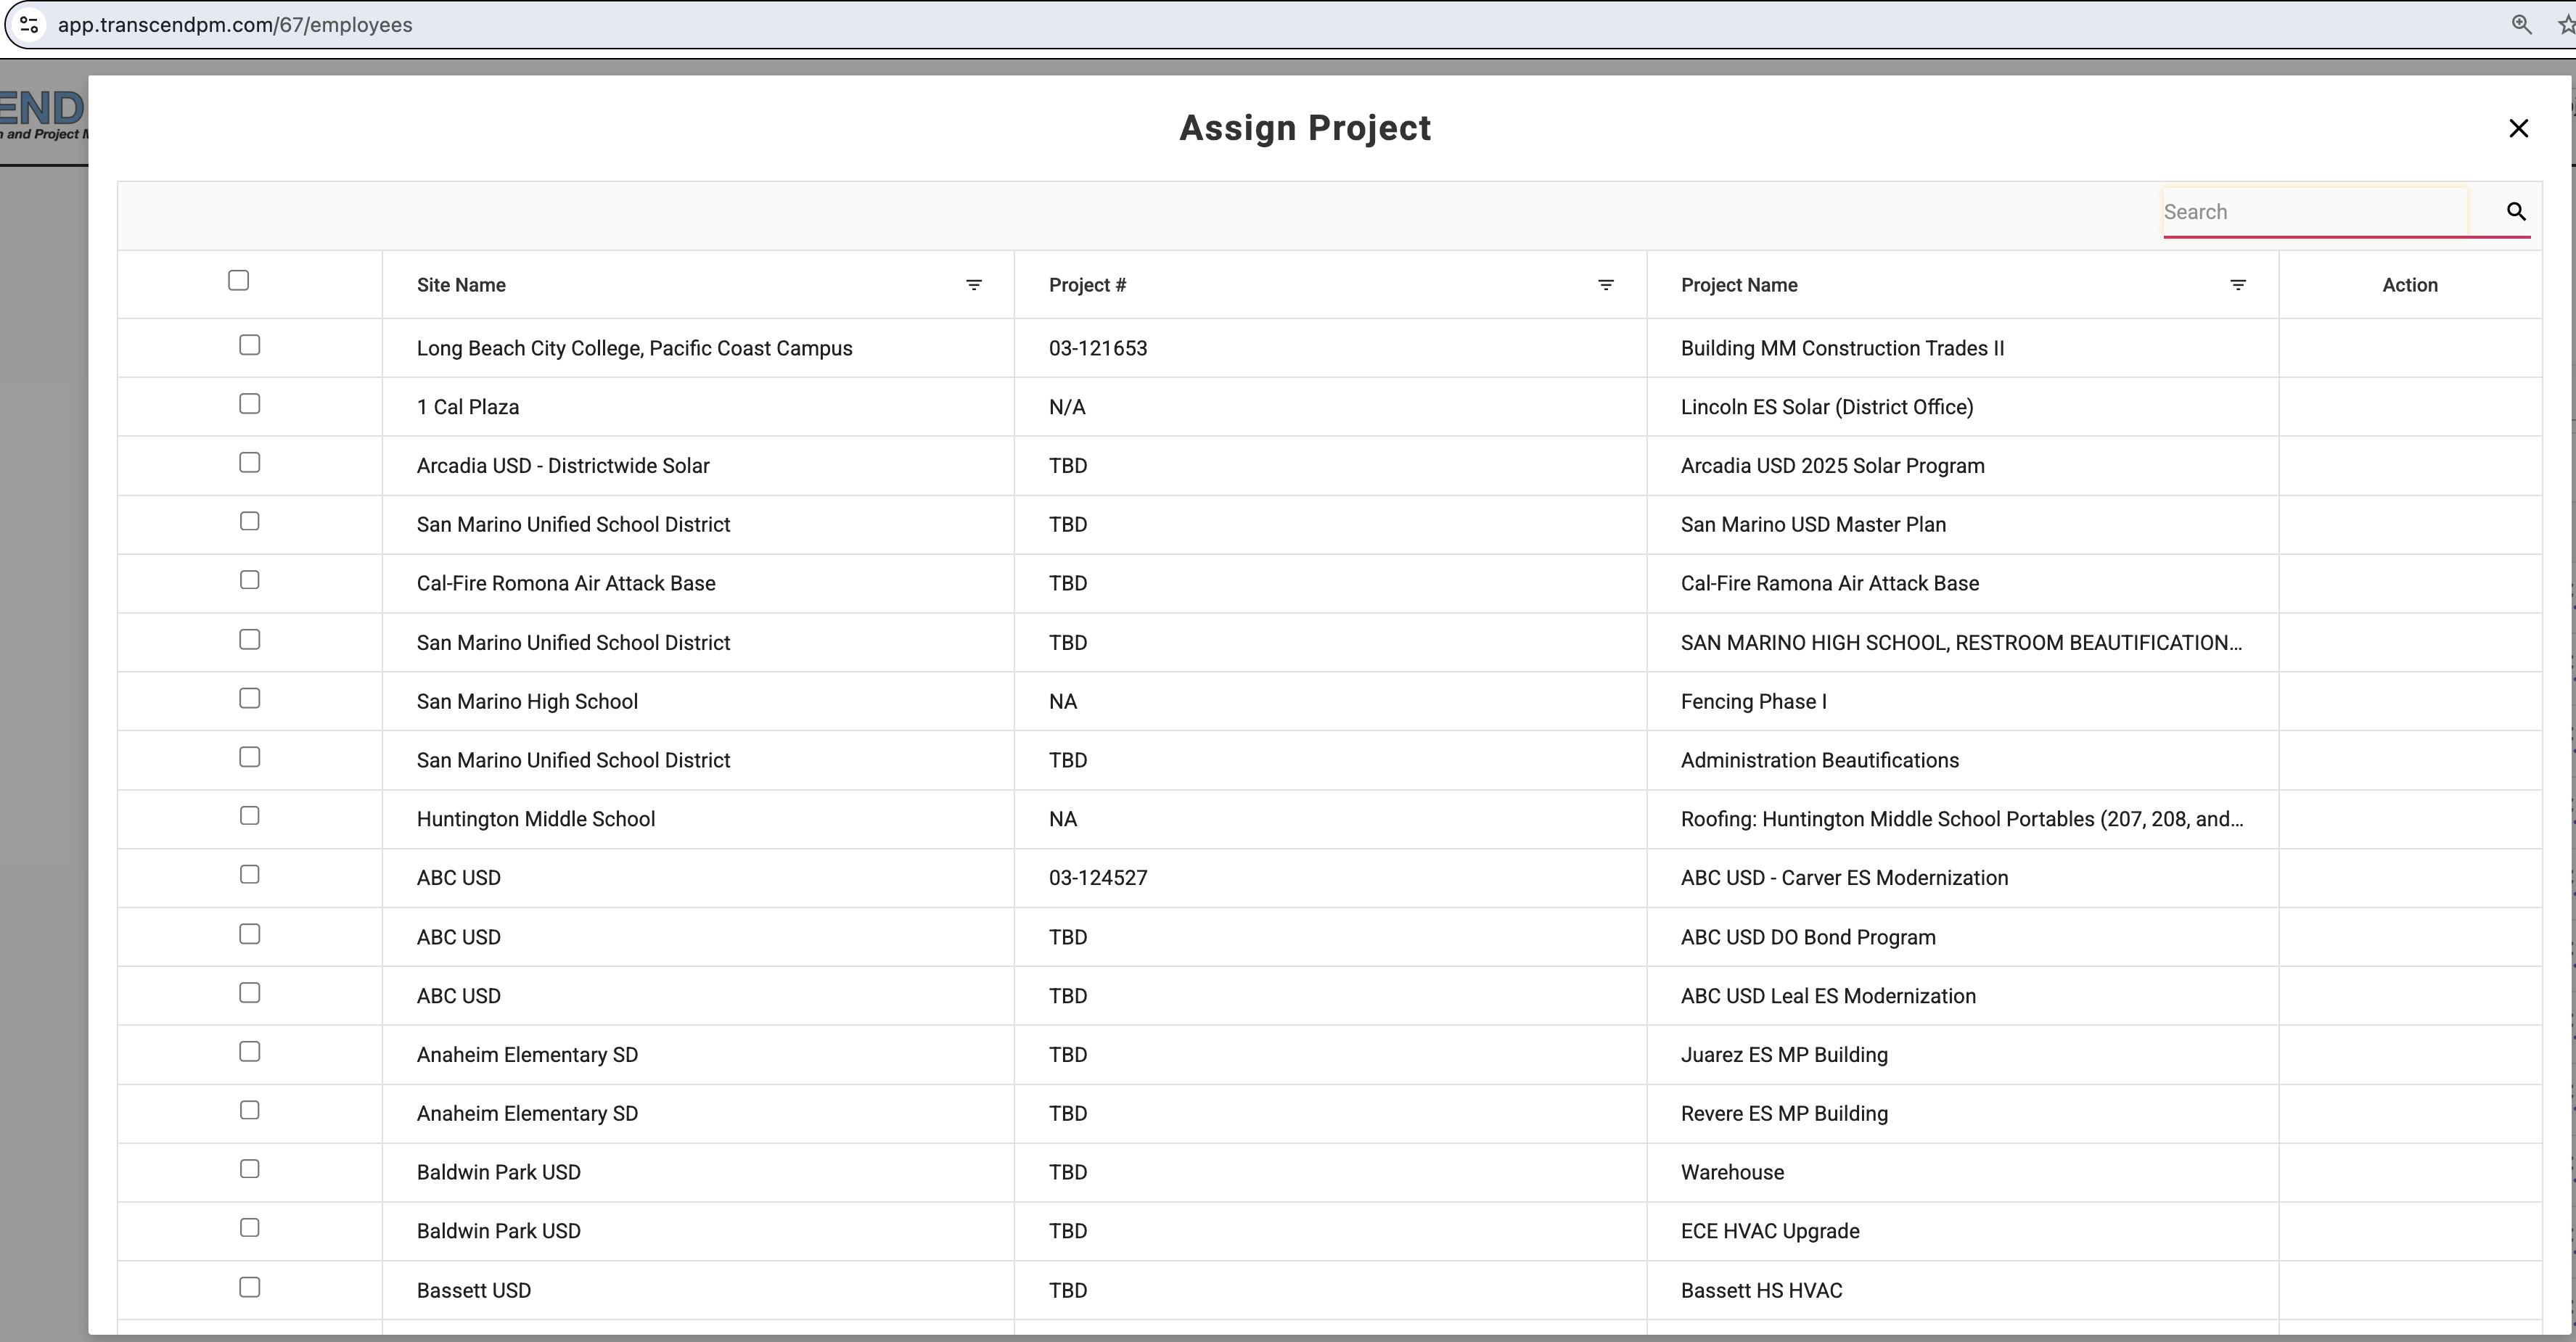
- You can add them to many projects at once from the next menu.
- The large LS will turn green if clicked, this stands for Live Scan. Some projects require individuals to be live scanned, so this is where you identify who has or has not been through the process.
When someone is invited to join your company, they will be displayed at the bottom of this page. You can either delete the invite, or resend it to them.

When the user logs in, they will see the invitations to join a company and they can accept it or reject it.
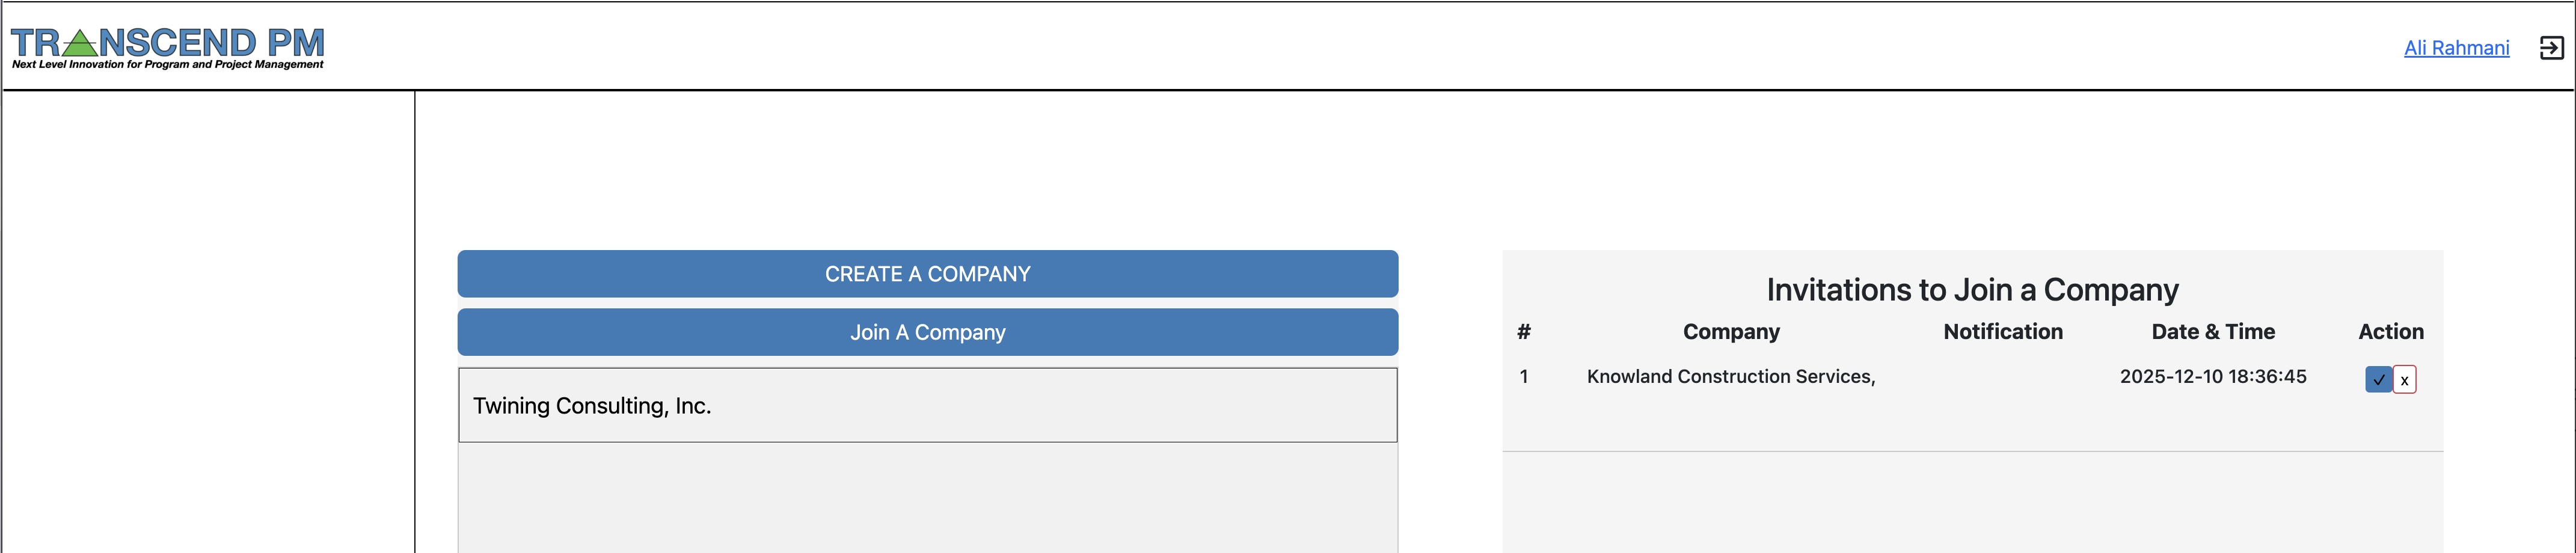
After accepting the invitation the company will be added to this users list of companies.
¶ Assigning a User to a Project
You must first add someone to your company, before they can be added to a project. After this, you can go to the employees/contract workers page and click the assign project as noted above in the adding a user to your company instructions. All you have to do is check the projects you want them added to and close the window. No matter what, a user needs to be a part of a company.
There is another way to add people to a project, you can use the project directory. This will allow you to add users to your company, other companies and to the project directly.
All you need to do is click the Add Employee to this Project on the far right.
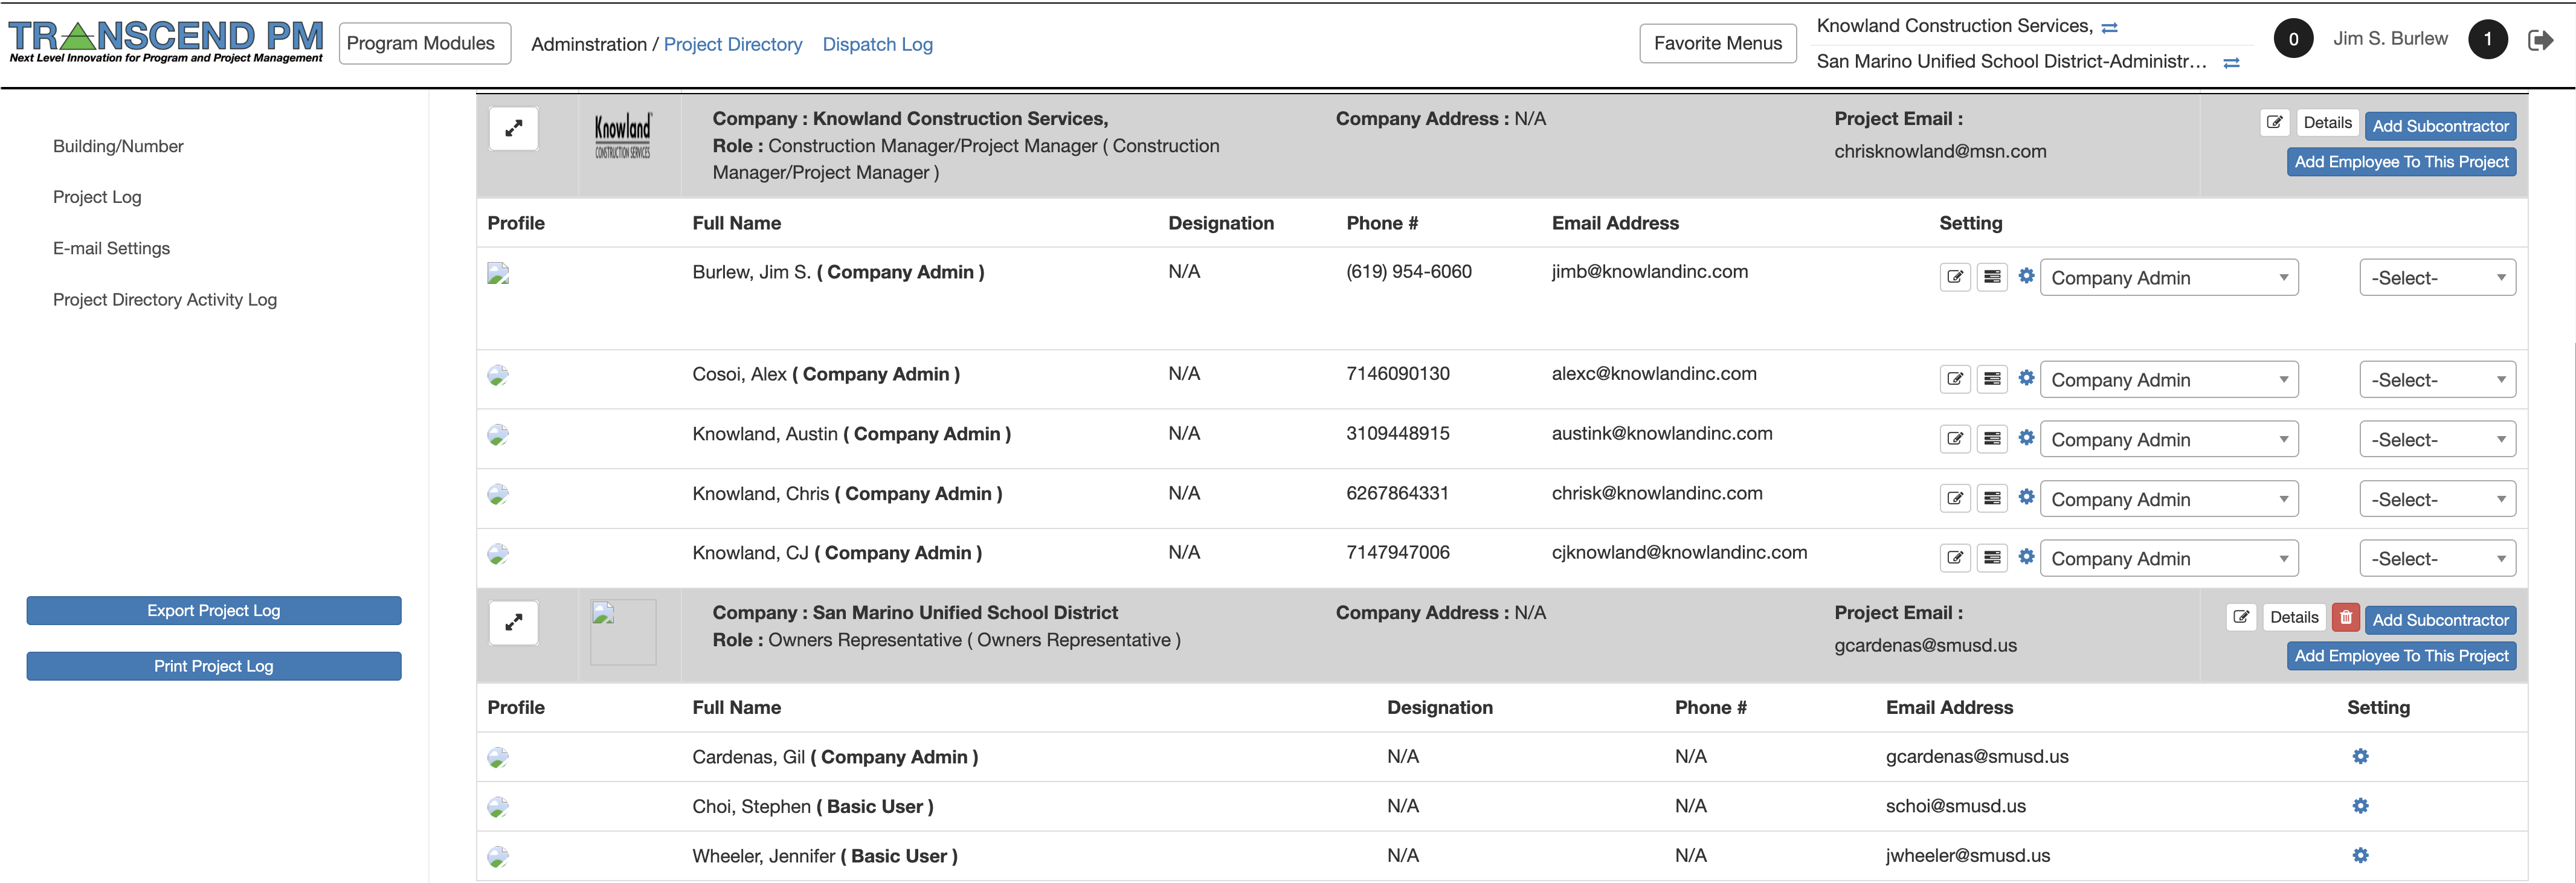
¶ Adding Subcontractors to a Project
Once you are in the Directory, you can either add contractors to a project who hold a contract with the owner, or you can add in subcontractors to general contractors here.
- Adding a contractor.
- Go to the top of the project directory page and click “Add Company to Project” from here follow the prompts.
- Adding a subcontractor to a prime contract holder.
- To the right of every company there is a button labeled “Add Subcontractor” from here follow the prompts.